


This tutorial will show you how to add a theme localization to your theme using the Poedit software. Poedit is a software (available for Windows, Mac and Linux) which you can use to translate WordPress theme or plugin. You can download a needed version of the software at the official website.
![]()
Each translation-ready theme comes with a .pot file. It can be found in following folder theme/your-theme/languages/ of the template package. Make sure to unzip your-theme.zip archive first. This is the file you need to work with.
The *.POT file is a list of all the text lines used in the theme files in English language.
Your theme might be already translated to some languages. If you see file pairs called es_ES.po/es_ES.mo, your theme is already translated into Spanish (es) of Spain (ES).
The *.MO file has the same content as the *.PO file. The two files differ only in their format. While a *.PO file is easy for people to read, *.MO files are compiled and are easy for computers to read. WordPress gets translations from *.MO files.
The *.MO file is automatically created by Poedit whenever you save a *.PO file. All you need to do with these files is to upload or re-upload them whenever you create or update a *.PO file.
In order to add a theme translation, please, complete the following steps:

- Open Poedit and select Create new translation.
- Select the *.POT file or the *.PO file from the theme you would like to translate, you can find needed file in the theme/your-theme/languages folder on your computer.
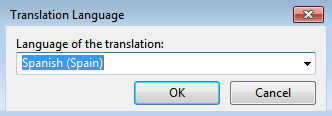
- A pop-up will appear asking for language of the translation. Select your language.Please note, it’s important to choose the right variant among various available ones. For example, in WordPress admin panel under Settings > General menu for the Site Language option you can see a list of the languages to use. So if you are going to choose English (Canada) here, you should select the same language for your theme localization in Poedit, and not just English or English (USA), because it’s a different thing for WordPress.
- Hit OK and Poedit will name your file automatically. But we recommend that you rename the files yourself, you will be able to do this while saving the translation. When naming new localization files, you must follow the standard IETF language tag nomenclature, where the first lowercase letter code represents the language, and the second uppercase code represents the region, for example: fr-CA for French – Canada, en-GB for English – Great Britain, es-ES for Spanish – Spain.
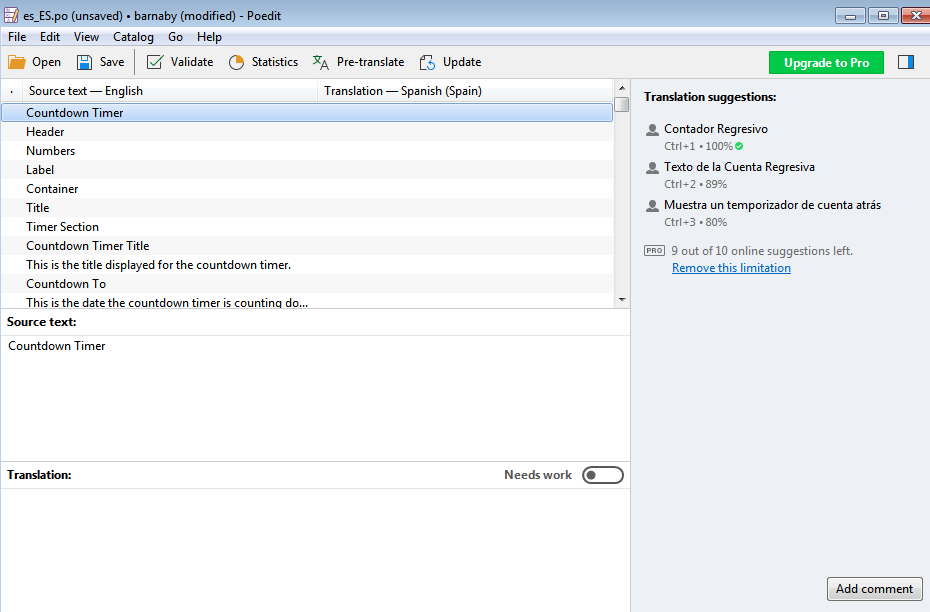
- Click on the Update button – poedit will check source code for the available strings once again.
- Now you can start translating your theme. You will see boxes underneath showing the source text, your translation and any notes for translators. Translating is really easy – just select a word or phrase in the upper section and enter your translation to the bottom section.
- When you are done with translating, save your edits. Poedit will automatically create both *.po and *.mo files under theme/your-theme/languages/ folder. You will need to upload both files to your theme languages folder on the server where WordPress is installed: wp-content/languages/themes.
- Navigate to WordPress Dashboard and open the Settings > General tab. Scroll down and select the corresponding language (you have just created the translation to) in the Site Language field, save the changes.
- Open your website frontend and check the changes.

