


If you need to add a slider to your page, and you have MotoPress Slider plugin installed and activated, you can use it for creating, editing and managing different attractive slideshows that will definitely catch you visitor’s attention. From this tutorial, you’ll learn how to use MotoPress slider to create a custom slideshow and embed it to your website’s page.
MotoPress Slider Location

- Log in to WordPress Dasboard.
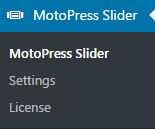
- In the left column find the tab called MotoPress. Click on it.
Please, view MotoPress Slider Settings to learn more about how to adjust them according to your needs.
Editing and Creating Slides
- Click on Edit Slides button at the bottom of the page. You’ll be redirected to slides list where you can see the existing slides. To edit them click on Edit button.
- If you want to create a new slide click on New Slide button. You’ll see a notice informing you, that a slide was created, and you’ll be redirected to Slide Settings window.
- First, specify your new slide’s name and choose its status (published or a draft).

- Add content to the slide. There are four types of content that can be added: text, image, button and video content. To add the specific kind of content click on the matching button.
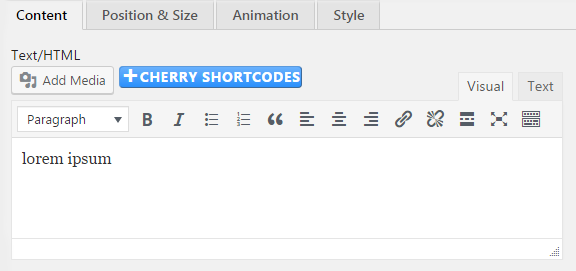
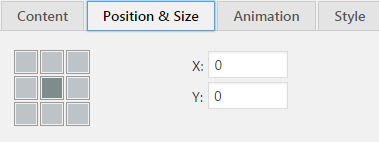
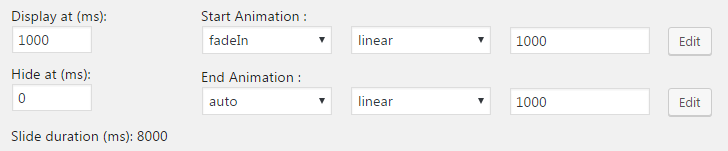
- At the bottom of the page, you’ll also see the editing block where you can format content according to your purposes and individual vision of style. Choose the exact position and size using X and Y coordinates.
- Define animation options for a single element of a slide.
Single Slide Styles Settings
You can also manage style settings of your single slide. Go to Style tab and click on Edit button. Style Editor will open.
From there you can switch from normal state to hover state of your content.
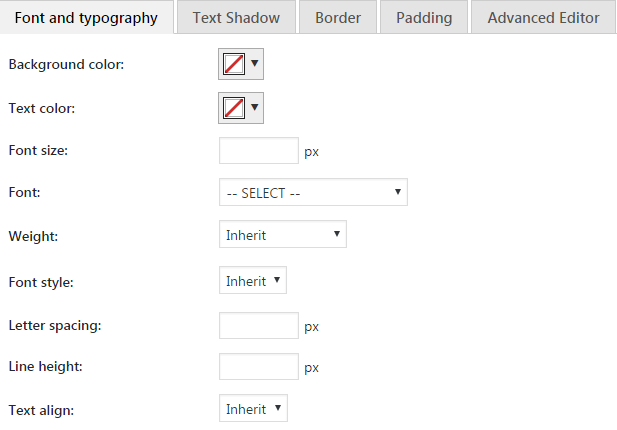
- Background color — this option defines the background color of your content.
- Text color — this option defines the text color.
- Font size — here you can specify the size the f font to be used for your content.
- Font — this option allows you to choose the font from the ones shown in the drop-down list.
- Weight — this option defines the thickness of your content text outlines.
- Font style — here you can change your content text style to italic.
- Letter spacing and Line height — here you can set the value, that will match the font you’re using.
- Text align — in this field you can choose textual content alignment.
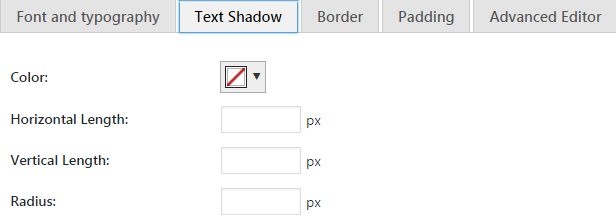
- Text shadow style — this tab will help you to apply a shadow and define its length, color and radius.
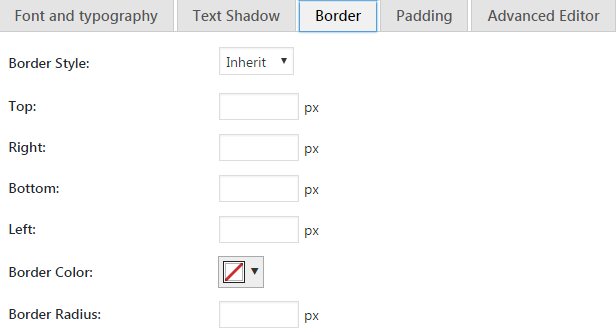
- Border style — this option helps you to choose the specific border style from the drop-down list of styles.
- Top, Right, Bottom, Left — in these fields you can define border thickness in pixels.
- Border color — this option gives you an opportunity to pick a color to be used for a border.
- Border radius — this option specifies border radius.
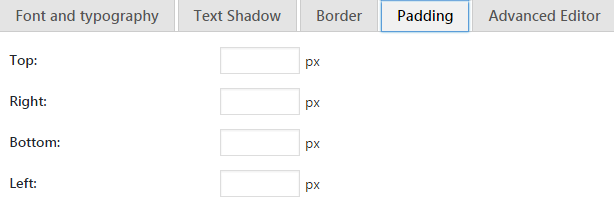
- Padding style — this tab helps you to manage your content padding. Just specify the padding values in pixels in the matching fields.
- Advanced editor — you can use the tab to add your custom CSS style.

You can also use style presets, which you can view in the right column.
When you’re over with the single slide creation, just click on the Save Slide button at the bottom of the page. Now you know how to create slides using MotoPress slider plugin.
This tutorial is based on Restaurant WordPress theme.

